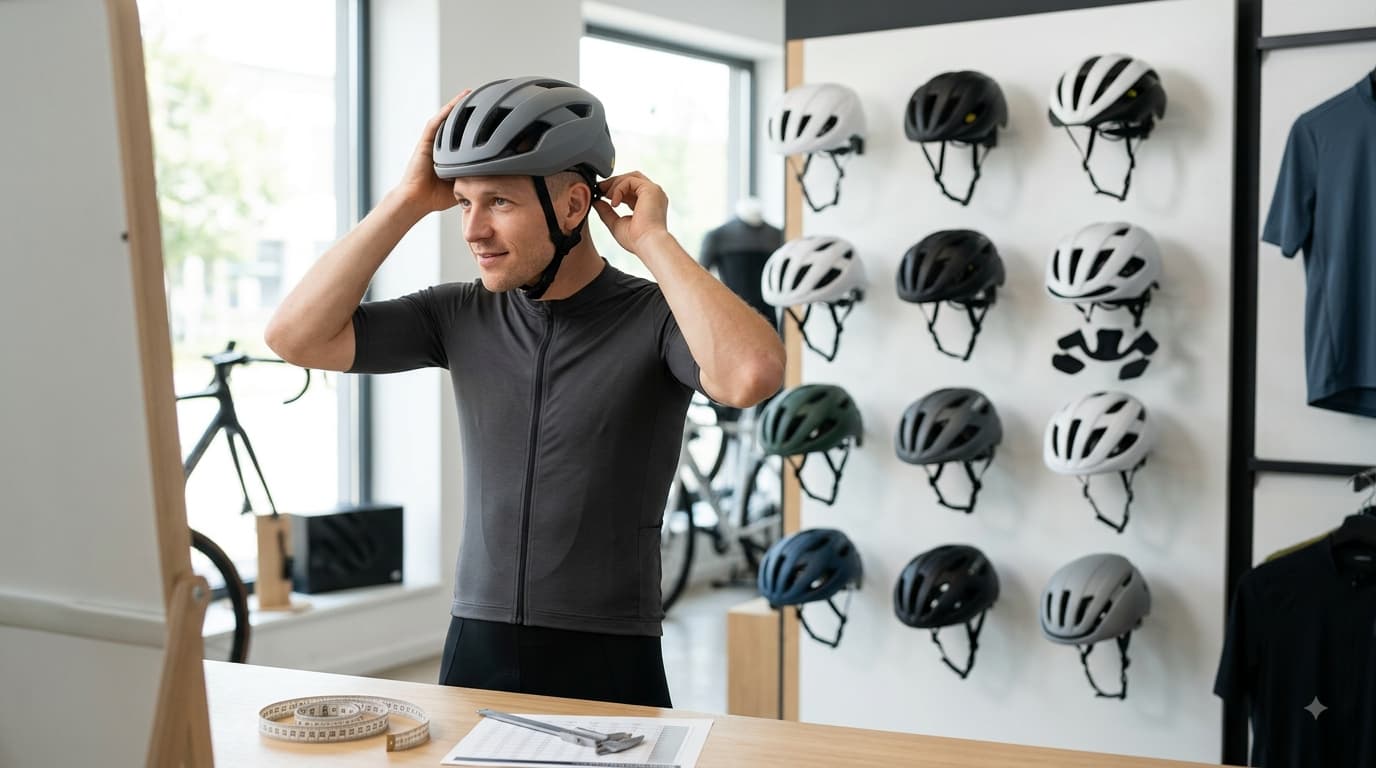
How to Choose a Bike Helmet That Actually Fits (and Protects You)
If you’ve ever bought a bike helmet just because it was the right color or on sale, you’re not alone. Most people grab whatever looks decent and call it a day. The problem is that a helmet only does its job if it fits your head correctly, meets real safety standards, and actually gets worn on every ride. A helmet sitting on a shelf, or tilted back on your head like a baseball cap, isn’t protecting anything.
In this guide, we’ll walk through everything that actually matters when picking a bike helmet: how to measure your head, what safety certifications mean, which helmet type suits your riding style, and how much you should expect to spend. By the end, you’ll know exactly what to look for instead of guessing based on price or looks.
Why Fit Matters More Than Price
Here’s something a lot of people don’t realize: a $200 helmet that doesn’t fit right offers less real-world protection than a $40 helmet that fits perfectly. Fit determines whether the helmet stays in place during an impact, whether the foam lands where your head actually needs protection, and whether you’ll even want to wear it in the first place.
Before you look at brand names or price tags, focus on four things: fit, ventilation, safety certification, and how you plan to use it. Get those right, and you’ll end up with a helmet that protects you and one you’ll actually reach for before every ride.
Understanding Safety Certifications
Not every helmet sold worldwide meets the same standard, so it helps to know what you’re looking at.
In the United States, any helmet sold for bicycle use is required to meet the CPSC (Consumer Product Safety Commission) standard. This is the baseline. If a helmet doesn’t have a CPSC sticker inside it, don’t buy it.
You’ll also come across MIPS, which stands for Multi-directional Impact Protection System. It’s a thin layer inside the helmet designed to let the helmet shift slightly on impact, which can reduce rotational force on your brain during certain kinds of crashes. It’s not required, but it’s become common on mid-range and premium helmets, and many riders consider it worth the extra cost.
If you’re shopping outside the US, look for EN 1078 in Europe or AS/NZS 2063 in Australia and New Zealand. These are the regional equivalents of CPSC certification.
How to Measure Your Head for the Right Size
Sizing charts vary between brands, so don’t assume a medium in one brand matches a medium in another. Here’s how to get an accurate measurement:
Wrap a soft tape measure around your head about an inch above your eyebrows, at the widest point around the back of your skull. If you don’t have a tape measure, a piece of string works too, just measure the string against a ruler afterward.
Write down that number in centimeters, then check it against the manufacturer’s specific size chart before you buy. Most helmets fall into ranges like 52-56 cm for small, 55-59 cm for medium, and 58-62 cm for large, but this varies enough between brands that you really do need to check.
If you can, try the helmet on in person rather than ordering blind. A size chart gets you close, but head shapes vary (some are rounder, some more oval), and the only way to know for sure is to put it on.
Signs a helmet doesn’t fit: it slides forward or backward when you shake your head, there are gaps between the padding and your scalp, or you can fit more than two fingers between the strap and your chin when it’s buckled.
Getting the Fit Right: Straps, Pads, and Positioning
Once you’ve got the right size, the way you adjust it matters just as much.
Start with position. The helmet should sit level on your head, not tilted back. A simple rule: you should be able to fit about two fingers between your eyebrows and the front edge of the helmet. Any lower and it blocks your vision, any higher and your forehead is exposed.
Next, the chin strap. When buckled, it should form a V shape just below each ear, and you should be able to fit one or two fingers between the strap and your chin, snug but not choking.
Most helmets also have side straps that meet at a point below your ear. Adjust these so the meeting point sits right at your jawline, not floating out toward your cheek.
A good way to test the overall fit is the eject test: open your mouth wide like you’re yawning. If the fit is correct, you should feel the helmet press down slightly on the top of your head. If it doesn’t move at all, the chin strap is probably too loose.
Finally, most modern helmets have a rear adjustment dial (often called a retention system) that lets you fine-tune how snug the back of the helmet feels. Use it. This one feature makes a bigger difference in comfort than almost anything else on the helmet.
Choosing a Helmet Type for Your Riding Style
Not all helmets are built for the same kind of riding, so think about what you actually do most.
Road and racing helmets are lightweight and aerodynamic, with lots of ventilation holes and minimal coverage around the back of the head. They’re built for speed and long distances on pavement.
Mountain bike helmets extend further down the back of your head for extra coverage, since off-road falls tend to happen at different angles than road crashes. Some aggressive trail and downhill riders opt for full-face helmets that cover the chin and jaw as well.
Commuter or urban helmets are designed with everyday riders in mind. Many come with built-in visors, some include integrated lights or reflective strips, and a few even fold flat for easy storage.
If you ride a mix of trails, streets, and the occasional long ride, a hybrid or all-purpose helmet is probably your best bet. They split the difference between ventilation, coverage, and weight without specializing too heavily in one direction.
Features Worth Considering
Beyond the basics, a few extra features can make a real difference in day-to-day comfort and safety.
Ventilation matters more than people expect, especially on longer rides or in hot climates. More vents generally mean a lighter, cooler helmet, though usually with a bit less coverage.
A built-in visor helps block sun and rain, which matters a lot if you commute regardless of weather.
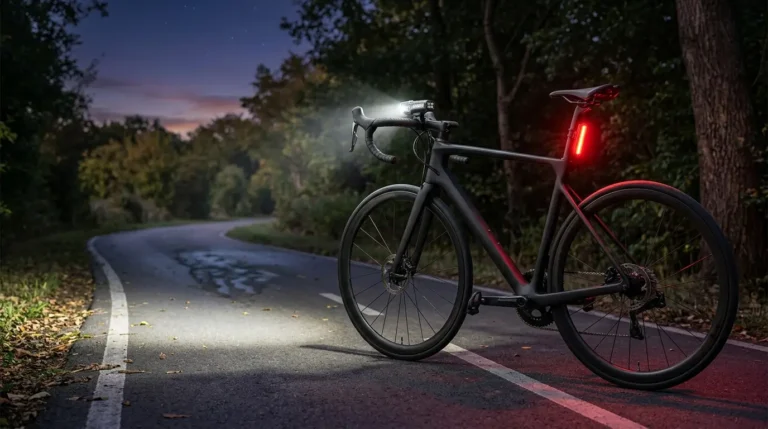
Reflective elements or built-in LED lights add a real safety benefit if you ever ride at dawn, dusk, or after dark.
Removable, washable pads are a small detail that makes a big difference over time, since sweat and grime build up fast, and being able to toss the pads in the wash keeps the helmet from getting gross (or smelly) after a few months of regular use.
When to Replace a Helmet
Even a great helmet doesn’t last forever, and a lot of riders hold onto theirs far longer than they should.
The most important rule: replace your helmet after any crash, even if you don’t see visible damage. The foam inside is designed to absorb impact by compressing, and once it’s compressed, it won’t protect you the same way again, even if the outer shell looks fine.
Beyond that, most manufacturers recommend replacing a helmet every five to ten years, since the foam and materials degrade slowly from UV exposure, heat, and general wear, even without a crash. If your helmet has been sitting in a hot car or garage for years, or the foam feels brittle or cracked, it’s time for a new one.
Budget Ranges and What You Get at Each Price Point
Helmet prices vary widely, and it helps to know what you’re actually paying for at each level.
At the entry level, around $30 to $50, you’ll get solid basic protection that meets CPSC standards, but usually with fewer vents, a heavier shell, and no MIPS technology.
In the $60 to $120 range, you’ll typically find better ventilation, lighter materials, and MIPS becomes much more common. This is a good sweet spot for most everyday riders.
At $150 and up, you’re paying for the lightest possible weight, the most refined ventilation systems, and often the latest rotational protection technology. These are aimed at serious road cyclists and racers who care about shaving every gram, though the added safety features benefit any rider.
Final Thoughts
When you’re shopping for a bike helmet, put fit first, safety certification second, and features third. A helmet that’s properly sized and adjusted will protect you far better than an expensive one that’s just sitting loosely on your head. Take the time to measure correctly, try it on if you can, and adjust the straps until it actually feels secure. Once you’ve got that dialed in, the rest (ventilation, visor, color, price) comes down to what fits your riding style and budget.