How to Fix a Flat Bike Tire (Step-by-Step Guide for Beginners)
Sooner or later, every rider gets a flat. It might happen in your driveway or ten miles from home on a quiet road with no cell signal. Either way, knowing how to fix a flat tire yourself means you’re never stuck waiting for a ride or pushing your bike the rest of the way. It’s one of those skills that sounds intimidating the first time but becomes second nature after you’ve done it once or twice.
In this guide, we’ll walk through exactly what you need, how to get the wheel off, how to find and fix the problem, and how to get rolling again. We’ll also cover a few habits that can help you avoid flats in the first place.
Tools and Supplies You’ll Need
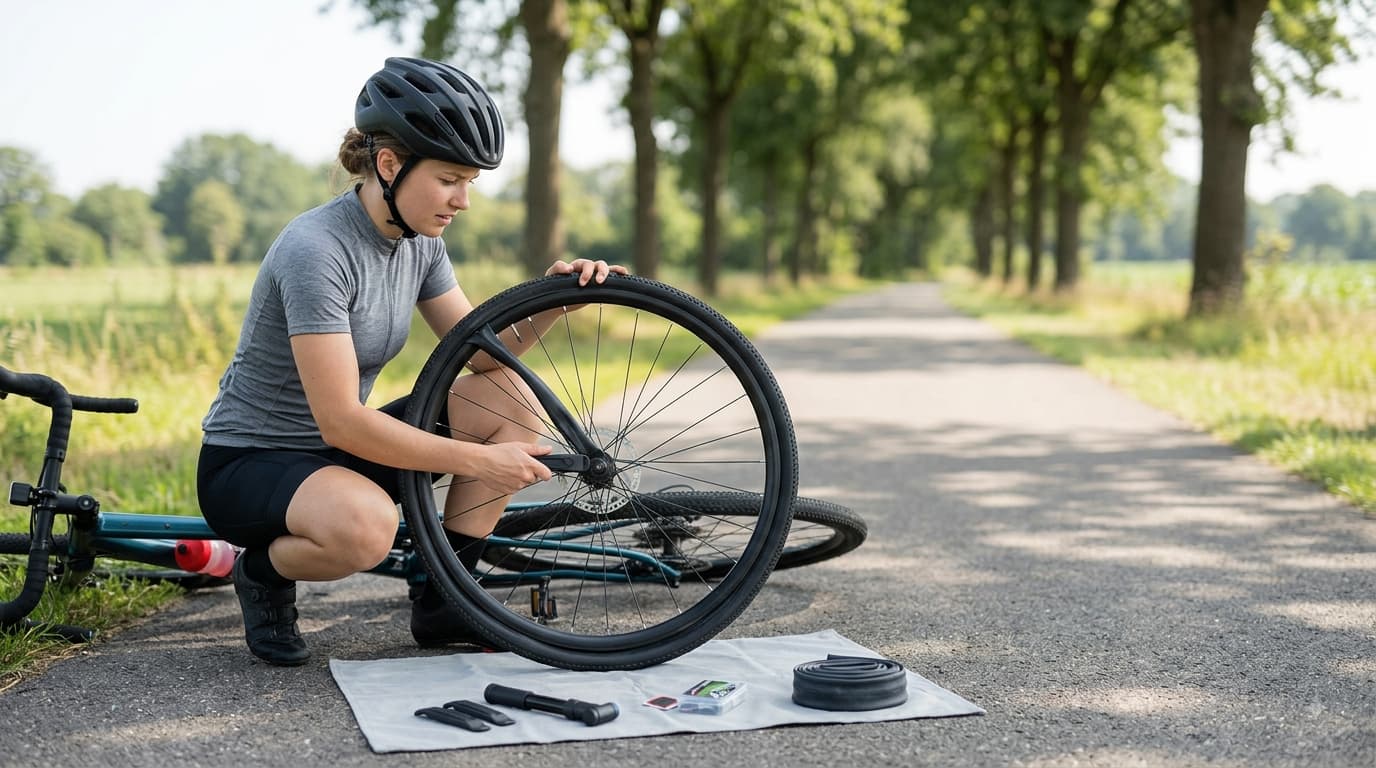
Before you start, gather these items so you’re not hunting around mid-repair:
Tire levers are small plastic or metal tools that help pry the tire off the rim without damaging the tube. A spare inner tube in the correct size for your wheel is worth carrying even if you plan to patch, since it’s often faster. A patch kit is handy as a backup, especially if you get more than one flat on a single ride. You’ll also need a mini pump or CO2 inflator to get air back into the tube once it’s fixed, and if you have one, a bike stand or something to prop the bike upside down makes the whole process easier, though it’s not required.
Step 1: Remove the Wheel
Start by releasing the brake if you have rim brakes, since the tire won’t fit past the brake pads otherwise. Most rim brakes have a small lever or quick-release mechanism near the brake caliper for exactly this purpose. If you have disc brakes, you can usually skip this step.
Next, open the quick release lever on the wheel, or loosen the axle nuts with a wrench if your bike doesn’t have quick release. For the rear wheel, you’ll need to shift the chain off the gears as you pull the wheel free, so it helps to shift into the smallest rear cog before you start. If your bike has any spacers or washers on the axle, set them aside somewhere you won’t lose them.
Step 2: Remove the Tire and Tube
Before doing anything else, let out any remaining air by pressing the valve.
Once the tube is fully deflated, use a tire lever to pry one edge of the tire off the rim. Slide the lever under the tire bead, then hook it onto a spoke to hold that section in place. Repeat with a second lever a few inches away, and you should be able to work your way around until one whole side of the tire pops free.
With one side of the tire off the rim, you can pull the tube out from inside the tire. Go slowly around the valve area since this is where the tube is most likely to tear or get stuck.
Step 3: Find the Cause of the Flat
This step gets skipped a lot, and it’s the reason so many people end up with a second flat right after fixing the first one.
Check the outside of the tire first for anything obviously stuck in the tread, like a thorn, staple, or piece of glass. Then run your fingers carefully along the inside of the tire, feeling for anything sharp poking through. Go slowly here, since whatever caused the flat is often small enough that you won’t see it, only feel it.
If you find the culprit, remove it before putting anything back together. If you skip this step and it’s still lodged in the tire, it’ll puncture your next tube within a few minutes of riding.
Step 4: Patch or Replace the Tube
At this point you’ve got a decision to make: patch the old tube or swap in a new one.
A single small puncture from a thorn or piece of glass is usually a good candidate for patching. If the tube has a large tear, a hole near the valve, or multiple punctures, it’s better to just replace it.
If you’re patching, rough up the area around the hole with the sandpaper included in most patch kits, apply glue if your kit uses it (some newer kits use glueless patches instead), and press the patch on firmly, holding it for about thirty seconds to a minute so it bonds properly.
Most riders find that carrying a spare tube and swapping it out is faster than patching, especially mid-ride. Patching is a great skill to have as a backup, but it’s usually the slower option when you’re on a schedule or the weather isn’t cooperating.
Step 5: Reinstall the Tube and Tire
Before putting the tube back in, add just a little bit of air, enough that it holds its shape but isn’t fully inflated. This makes it much easier to work with and less likely to get pinched.
Starting at the valve, tuck the tube into the tire, working around in both directions until it’s fully seated inside.
Now work the tire bead back onto the rim using your hands rather than the levers, if you can manage it. Levers make this part easier, but they also raise the risk of pinching the tube against the rim, which causes an immediate new puncture. Start opposite the valve and work your way around, pushing the bead into the rim with your thumbs.
Once the tire is back on, give it a once-over to check that the tube isn’t visible or pinched anywhere between the tire and the rim before you inflate it further.
Step 6: Inflate and Reinstall the Wheel
Check the sidewall of the tire for the recommended PSI range, then inflate to somewhere within that range using your pump or CO2 inflator.
Once the tire is inflated, reattach the wheel to the bike, making sure it’s seated evenly in the dropouts, then reconnect the brake if you released it earlier.
Give the wheel a spin to check that it’s centered and not rubbing against the brake pads or frame. If everything looks good, you’re ready to ride.
How to Prevent Future Flats
A few simple habits go a long way toward avoiding flats in the first place.
Keep your tires properly inflated. Underinflated tires are much more prone to pinch flats, where the tube gets squeezed between the rim and a hard bump or pothole.
Check your tires periodically for embedded debris or visible wear, especially if you ride on roads with a lot of glass or gravel.
If you frequently ride routes with a lot of debris, consider switching to puncture-resistant tires or adding tire liners. They add a small amount of weight, but for commuters or riders in high-debris areas, the tradeoff is usually worth it.
What to Carry With You in Case of a Flat
Even with good habits, flats happen, so it’s worth keeping a small kit with you on every ride. A basic setup includes a spare tube sized for your wheel, a pair of tire levers, a mini pump or CO2 inflator with cartridges, and a patch kit as a backup.
Most riders keep this kit in a small saddle bag under the seat, though a jersey pocket or frame bag works just as well. The goal is just having it with you, since the best repair kit in the world doesn’t help if it’s sitting at home.
Final Thoughts
Fixing a flat isn’t complicated once you’ve done it a time or two. The first repair might take twenty minutes while you figure out the levers and get the tire seated right, but after that it becomes something you can do in five or ten minutes without thinking twice. If you’re new to this, it’s worth practicing at home on a wheel you’re not in a rush to use, so the first time you actually need this skill, you’re not learning it on the side of the road.