How to Clean a Bicycle Chain the Right Way (Step-by-Step)
If you’ve ever noticed your bike shifting a little rough or squeaking with every pedal stroke, chances are your chain is overdue for a cleaning. It’s one of those maintenance tasks that’s easy to put off, but a dirty chain doesn’t just sound annoying, it actually wears down your whole drivetrain faster and makes every ride less efficient.
The good news is that cleaning a chain is simple, doesn’t take much time, and doesn’t require any special skills. In this guide, we’ll cover what you need, how to actually clean and lube the chain, and how often you should be doing this.
Why Chain Maintenance Matters
A chain that’s covered in dirt and old lubricant isn’t just gross to look at, it’s actively working against you. Grime and grit act almost like sandpaper between the chain links, wearing down the metal every time you pedal.
A clean, properly lubed chain shifts more smoothly, runs quieter, and simply lasts longer before it needs replacing. On the flip side, a neglected chain wears out fast, and once it stretches beyond a certain point, it starts damaging the cassette and chainrings too. At that point you’re not just replacing a chain, you’re replacing an entire drivetrain, which costs a lot more.
Tools and Supplies You’ll Need
Before you start, gather a few things so you’re not stopping mid-task to go find something.
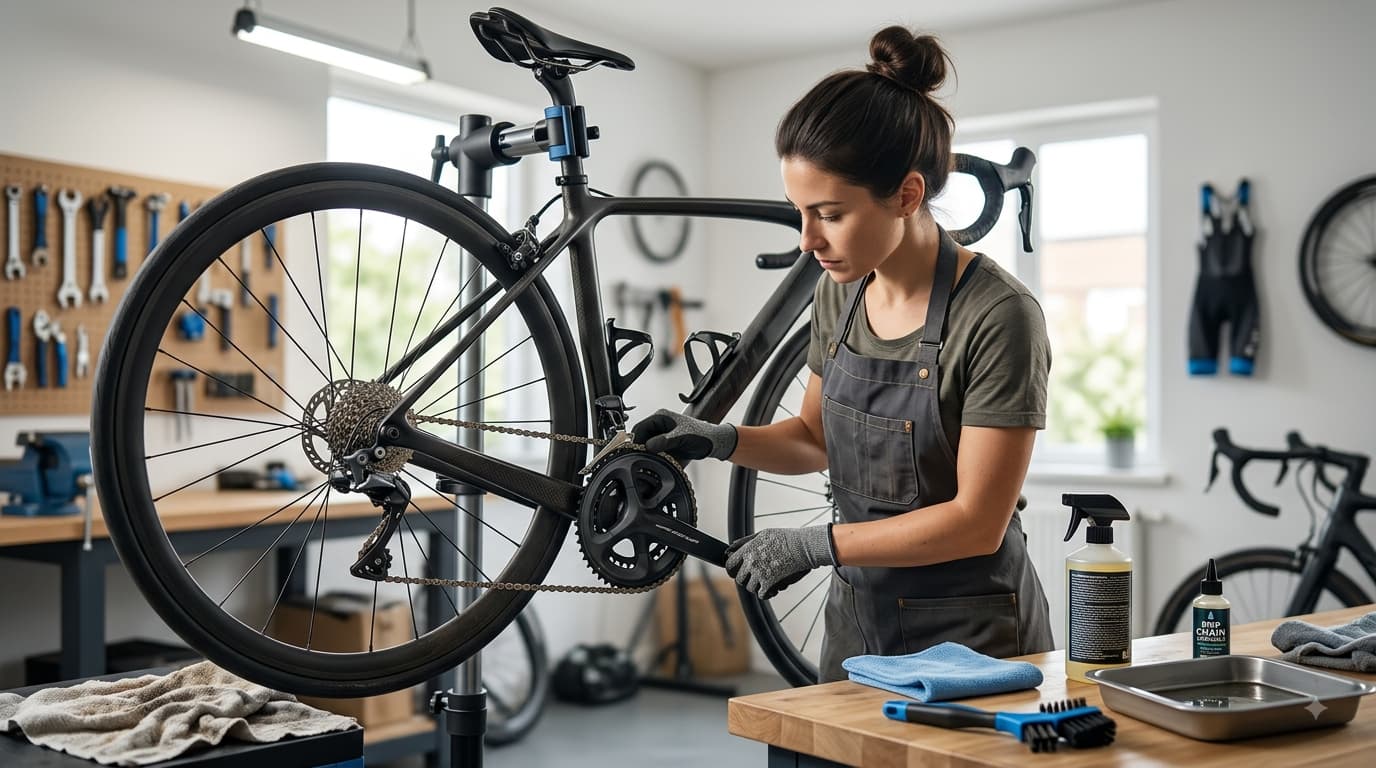
You’ll want a bike-specific degreaser rather than a household solvent, since some household products can damage rubber seals or plastic components on the bike. A chain cleaning tool is helpful but not required, it’s a small device with brushes inside that scrubs the chain as you backpedal through it. If you don’t have one, an old toothbrush and a rag work fine too.
You’ll also want a drip pan or an old container to catch runoff, along with a few clean rags or paper towels for wiping things down. For lubricant, pick a bike-specific chain lube, either wet or dry depending on your typical riding conditions (more on that below). A bike stand isn’t required, but it makes the whole process a lot easier if you have access to one.
Step 1: Shift Into an Easy Gear and Prep the Bike
Start by shifting into the smallest chainring in front and the smallest cog in back. This relaxes the tension on the chain and makes it much easier to clean and work with.
If you have a bike stand, prop the bike up so the rear wheel spins freely. If not, you can flip the bike upside down onto the handlebars and seat, or lean it against a wall in a way that lets the pedals turn.
Lay down an old rag or a drip pan underneath the drivetrain before you start applying degreaser, since it tends to drip and you don’t want it pooling on your garage floor or driveway.
Step 2: Remove Built-Up Grime
If you have a chain cleaning tool, fill it with degreaser, clip it onto the chain, and slowly backpedal. The brushes inside scrub the chain from all sides as it moves through, which saves a lot of manual effort.
If you’re doing this by hand, apply degreaser directly onto the chain with a brush or old toothbrush, then work it into the links while backpedaling slowly. Focus on getting into the gaps between the links and rollers, since that’s where most of the grime builds up.
While you’re at it, don’t skip the derailleur pulleys (the small wheels the chain runs through near the rear derailleur) and the cassette (the stack of gears on the rear wheel). Both collect just as much grime as the chain itself, and cleaning them makes a noticeable difference in how smoothly everything shifts.
Step 3: Rinse and Wipe Down
Once you’ve scrubbed the chain, take a clean rag and wipe it down thoroughly, removing the loosened grime and leftover degreaser. Fold the rag around the chain and backpedal slowly a few times so the whole length passes through it.
Check the rag as you go. If it’s coming away with a lot of dark residue, keep wiping and repeat the process until it comes away mostly clean.
Step 4: Let the Chain Dry Completely
This step gets skipped a lot, but it matters. Applying lube to a wet or damp chain traps moisture underneath it, which leads to rust and actually attracts more dirt once you’re riding again.
Depending on the degreaser you used, this might take anywhere from a few minutes to closer to twenty. If you’re in a hurry, a dry rag or some compressed air can speed things along, just make sure the chain looks and feels completely dry before moving to the next step.
Step 5: Apply Fresh Lubricant
Once the chain is dry, it’s time to relube it. There are two main types of lube to choose from. Wet lube holds up better in rain and mud, since it resists washing off, but it also attracts more dirt in dry conditions. Dry lube works better for dry, dusty environments, since it goes on wet but dries to a thin coating that doesn’t collect as much grime.
Apply the lube directly onto each link while slowly backpedaling, so it gets distributed evenly along the whole chain. Let it sit for a few minutes so it can actually work its way into the links and rollers.
After that, wipe off any excess with a clean rag. This part is easy to skip, but excess lube on the outside of the chain doesn’t help anything, it just sits there and attracts more dust and dirt, which defeats the purpose of cleaning it in the first place.
How Often to Clean and Lube Your Chain
How often you need to clean your chain depends a lot on how and where you ride. If you’re mostly riding on dry pavement, cleaning every few weeks or every couple hundred miles is usually enough. If you’re riding in rain, mud, or dusty conditions regularly, you’ll want to clean it more often, sometimes after every muddy or wet ride.
A few signs your chain needs attention: audible squeaking, visible grime or a black, gritty film on the links, or shifting that feels rougher than usual. Between full cleanings, a quick wipe-down and a fresh coat of lube can help keep things running smoothly without needing the full process every time.
Signs It’s Time to Replace the Chain
Even with regular cleaning, chains don’t last forever. They stretch slightly over time as the internal components wear, and a stretched chain doesn’t mesh with the cassette and chainrings the way it should.
A chain wear indicator tool is a cheap and easy way to check this. You hook it onto the chain, and it tells you whether the chain has stretched past a safe point. Riding on a stretched chain for too long accelerates wear on the cassette and chainrings, and once those wear out too, you’re looking at replacing the whole drivetrain instead of just the chain.
Replacing a chain every so often, before it stretches too far, is a lot cheaper than waiting until it damages the rest of the drivetrain.
Final Thoughts
Cleaning your bike chain isn’t complicated, and it only takes about fifteen to twenty minutes once you’ve got the process down. A few minutes of regular maintenance keeps your rides quieter, your shifting smoother, and saves you from a much bigger repair bill down the road. Try building it into a regular part of your bike care routine, rather than something you only think about once things start squeaking.