How to Choose Cycling Shoes: A Complete Buyer’s Guide
If you’ve ever finished a ride with numb toes, a hot spot burning into the ball of your foot, or a nagging feeling that your legs were working harder than they should be, there’s a good chance your shoes were part of the problem. Cycling shoes aren’t just a fashion choice for people who take spandex too seriously. They connect you to your pedals, they affect how efficiently your power gets transferred into forward motion, and a bad pair can genuinely ruin an otherwise great ride.
The good news is that picking the right pair isn’t complicated once you understand a handful of basics. This guide walks through everything you need to think about before you buy, from pedal compatibility to sole stiffness to fit, so you can make a confident choice whether you’re riding outside, spinning at home, or both.
Start With Your Pedal System
Before you even look at a shoe, you need to know what kind of pedals you’re using, because that decision narrows your options fast.
If you ride flat pedals, you have the most freedom. Any shoe with a grippy, relatively flat sole will work, including plenty of everyday sneakers designed for skateboarding or casual wear. Some brands make dedicated flat-pedal cycling shoes with stickier rubber and reinforced soles, which are worth considering if you ride often, but they’re not strictly necessary.
If you ride clipless pedals (yes, confusingly, “clipless” means your shoe clips into the pedal), you need a shoe built for a specific cleat system. The two most common types are:
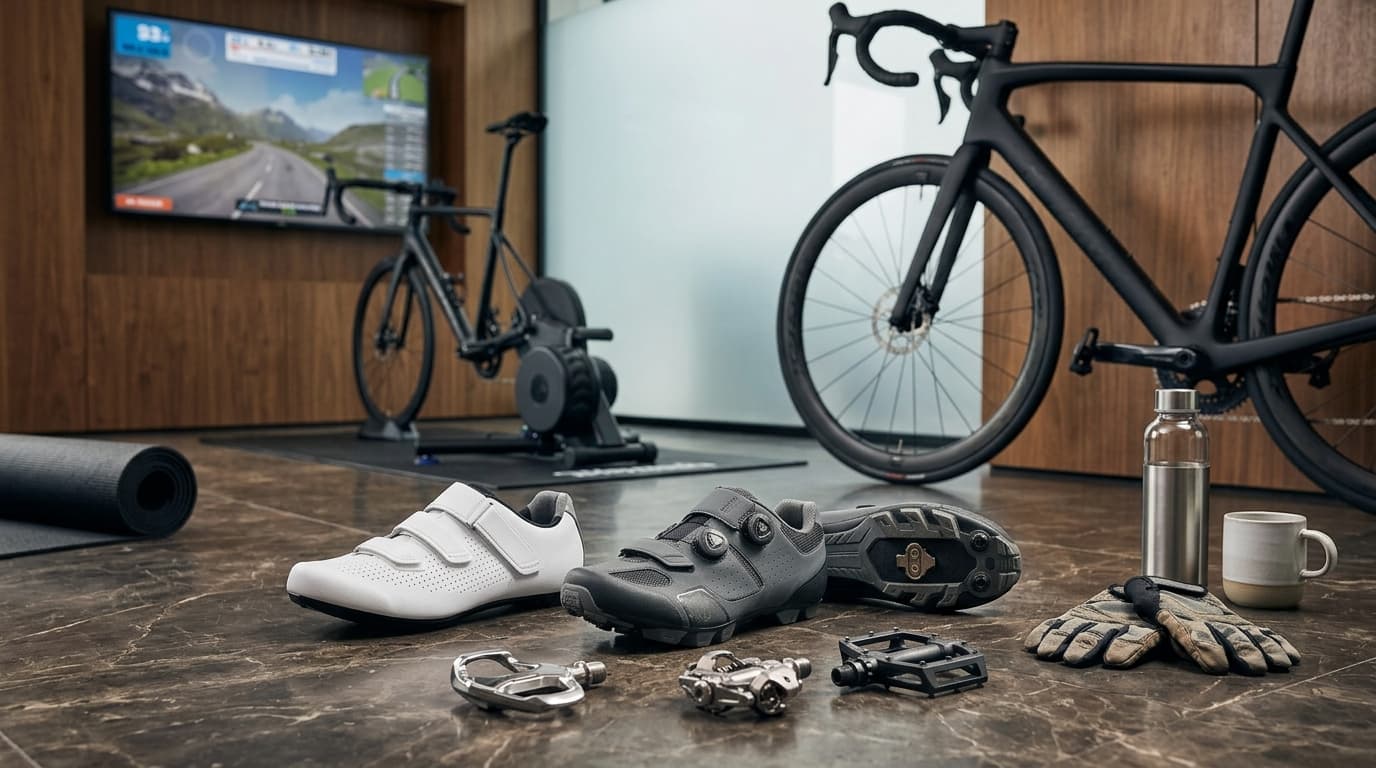
SPD, which uses a small, recessed two-bolt cleat. This is the standard for mountain biking, commuting, and most indoor cycling setups, including Peloton and the majority of gym spin bikes. The recessed cleat means you can actually walk around in these shoes without looking like you’re wearing ice skates.
SPD-SL (or Look-style, three-bolt), which uses a larger, exposed cleat. This is the standard for road cycling and favored by performance riders because the bigger contact area spreads pressure more evenly across the pedal. The tradeoff is that walking in these shoes is awkward and the cleats wear down faster on hard surfaces.
If you already own pedals, check what cleat system they use before you shop for shoes. Buying a beautiful pair of road shoes only to discover they don’t match your pedals is a frustrating and avoidable mistake.
Think About Sole Stiffness
Sole stiffness might not sound exciting, but it has a real effect on how your ride feels. A stiffer sole resists flexing, which means more of the force from your pedal stroke goes directly into turning the pedals instead of getting absorbed by a bendy shoe. Carbon fiber soles are the stiffest and lightest option, and you’ll typically find them on higher-end road shoes built for people who care about squeezing out every bit of efficiency.
Nylon or composite soles have more give. They’re heavier and less efficient at transferring power, but they’re also more comfortable for walking, more forgiving for new riders, and usually much cheaper. If you’re commuting, riding casually, or taking spin classes, a nylon sole is often the better fit, no pun intended.
There isn’t a universally “correct” answer here. A serious road cyclist chasing personal records will notice the difference a carbon sole makes. Someone riding twenty minutes to the office a few times a week probably won’t, and might appreciate being able to walk into a coffee shop without waddling.
Pick a Closure System That Matches Your Budget and Needs
How a shoe tightens around your foot matters more than people expect, and there are three main systems to know:
Velcro straps are the simplest and most affordable option. They’re easy to adjust on the fly, which is handy, though they offer less precise, more generalized tightening across the shoe.
Ratchet buckles sit in the middle. They give you a firmer, more adjustable fit than velcro and are common on mid-range shoes.
BOA dials are the gold standard for fit. You turn a small dial to tighten a thin cable that runs across the shoe, letting you make tiny adjustments mid-ride without ever taking your hands too far from the bars. Many performance shoes use two BOA dials, one for the lower foot and one for the upper, so you can fine-tune pressure independently. BOA systems cost more, but if you’ve ever dealt with a shoe that felt slightly wrong the entire ride and there was nothing you could do about it, the ability to make micro-adjustments is worth a lot.
If you’re just getting started, velcro or a single ratchet is completely fine. Save the dual-BOA setup for when you know you’ll be riding enough to benefit from it.
Get the Fit Right
This is the part people rush through, and it’s the part that matters most.
Cycling shoes generally run narrower and shorter than regular sneakers, so don’t assume your usual size is correct. Try shoes on, or check a detailed size chart if you’re buying online, rather than guessing based on your street shoe size.
Your toes should have a small amount of room, but not so much that your foot slides forward and your toes press against the front of the shoe. That kind of pressure gets worse, not better, the longer you ride. At the same time, a shoe that’s too tight across the width can cause numbness, since cycling shoes have a much stiffer structure than running shoes and don’t stretch the way athletic sneakers do over time.
Arch support is another area where cycling shoes differ from what you might be used to. Because your foot is locked into a fixed position on the pedal for the entire ride, proper arch support helps prevent fatigue and discomfort that builds up over long distances. If a shoe feels flat or unsupportive in the store, it will likely feel worse an hour into a ride.
One practical tip: try shoes on with the actual socks you plan to ride in. A thick winter sock can change the fit significantly compared to a thin summer one.
Indoor vs Outdoor Considerations
If you’re riding exclusively indoors, whether on a Peloton, a spin bike at the gym, or a home trainer, your needs are a bit different than an outdoor rider’s. Ventilation matters less since you’re not dealing with weather, though a warm room and sweat still make some breathability worthwhile. Durability against gravel, rain, and pavement isn’t a concern at all. Many indoor riders do perfectly well with simpler, less stiff shoes, since you’re not covering long distances or varied terrain.
Outdoor riders should prioritize ventilation for hot weather, some water resistance for unpredictable conditions, and more durable materials that can handle being walked in in a parking lot or trailhead.
What You Get at Different Price Points
Entry-level shoes, typically in the fifty to eighty dollar range, usually have a nylon sole and velcro or ratchet closures. They’re a smart starting point if you’re new to clipless pedals or riding casually.
Mid-range shoes, generally eighty to a hundred fifty dollars, step up to a stiffer composite sole and often include a BOA dial or two, giving you a noticeably better fit and more efficient pedaling.
High-end shoes, above a hundred fifty dollars, bring full carbon soles, dual BOA closures, and minimal weight. These are built for people racing or training seriously, and the price reflects marginal gains that matter most at a competitive level.
Common Mistakes to Avoid
A few missteps come up again and again. Sizing up “just in case” almost always backfires, since a loose cycling shoe reduces power transfer and can cause blisters from your foot shifting during the pedal stroke. Ignoring cleat compatibility is another classic error. Always confirm your shoes match your pedals before buying, not after. Choosing a shoe based on color or brand name over actual fit is tempting but rarely ends well once you’ve logged a few miles in it. And finally, don’t expect a brand new pair to feel perfect on the first ride. Give leather and synthetic uppers a little time to mold to your foot, especially with pricier shoes.
Final Thoughts
Choosing cycling shoes comes down to a short list of decisions: match your pedal system first, pick a sole stiffness that fits how seriously you ride, choose a closure system your budget supports, and prioritize proper fit over everything else. Get those four things right and you’ll notice the difference on your very next ride, whether that’s a Sunday morning group ride or twenty minutes on a bike in your garage.
If you’re ready to see specific recommendations at each price point, check out our full comparison of the best cycling shoes for home and outdoor riders.